Ready to craft your own personalized journaling experience? Discover “How to Make a Leather Journal” and add a touch of rustic charm to your writing routine with step-by-step instructions and creative tips.
How to Make a Leather Journal?
I can’t overstate the importance of selecting the right leather for my journal—it’s the foundation of a masterpiece.
It influences the journal’s aesthetics and longevity, so I’ll explore the types of leather, consider the appropriate thickness, and prepare the leather for use.
Types of Leather
Full-grain leather is my top pick for a lavish, durable journal that’ll develop a lovely patina over time. Another excellent option is top-grain leather, which is thinner and offers a more uniform surface.

For those eco-friendly projects, bonded leather, made from leftover scraps, is economical and practical.
Leather Thickness
Leather thickness is measured in ounces. For my journal, I’ll look for a thickness between 2 and 4 ounces (1/32″ to 1/16″). This range is flexible enough for folding yet thick enough to ensure the journal feels robust and substantial in my hands.
Leather Preparation

Before crafting, I must condition the leather, ensuring it’s supple and workable. I’ll apply a natural leather conditioner with a soft cloth in gentle, circular motions—a necessity to prevent cracking and to keep the journal looking excellent for years to come.
Assembling Your Tools
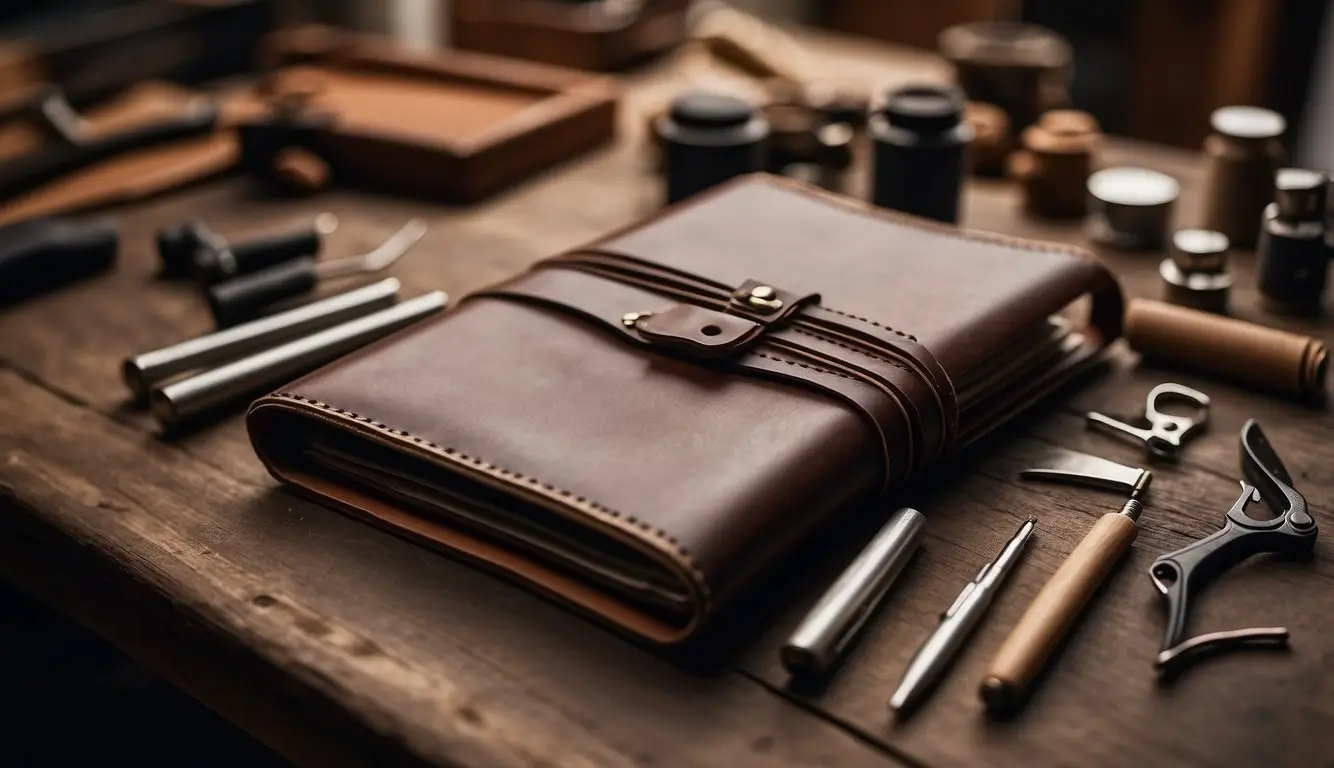
Before I dive into creating my custom leather journal, I always have all the necessary tools.

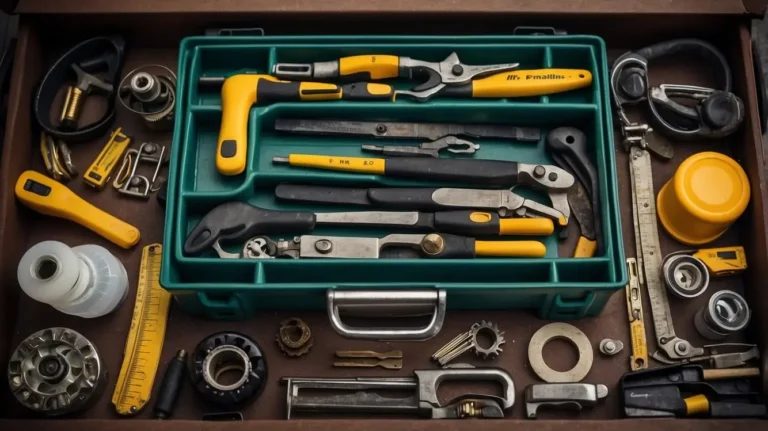
A smooth crafting experience starts with the proper preparation, which means gathering cutting tools, sewing materials, and other essential tools specifically curated for leatherworking.
Cutting Tools
- Utility Knife: I use a sharp utility knife to cut through the leather accurately.
- Metal Ruler: Accompanied by a metal ruler, I ensure my cuts are straight and precise.
- Cutting Mat: I protect my work surface with a self-healing cutting mat.
Sewing Materials
- Needles: Sturdy leather needles are a must for piercing through tougher material.
- Thread: Waxed thread is my choice for its strength and ease of use.
- Awl: I rely on an awl to pre-puncture sewing holes in the leather.
Other Essential Tools
- Hammer: A small leatherworking hammer helps me tap stitches into place.
- Sponges: I keep sponges close to dampen the leather when necessary.
- Leather Punch: A leather punch is ideal for creating uniform hole sizes for binding.
Crafting the Journal
I’m eager to guide you through crafting a handmade leather journal, and I will outline each crucial step.
From cutting the leather precisely to adding a personalized closure, I ensure your crafting journey is seamless and enjoyable.
Cutting the Leather
I begin by selecting a quality piece of leather, which I cut to the desired size. I ensure it covers my journal pages with a bit extra for folding over the edges.

It’s imperative to ensure the leather aligns properly for a clean cut.
Folding and Piercing Pages
My next step is to fold the paper in half, forming the journal’s pages. Accuracy is critical to a professional-looking finish. A bone folder helps to crease the pages sharply.
Once folded, I align the pages and use an awl to pierce uniform holes along the spine, guiding my stitching.
Sewing the Binding
I sew the binding to hold the pages together using a sturdy needle and waxed thread. I start with the center holes, pulling the thread through and securing each end with a knot hidden inside the fold.
Keeping the tension consistent for a tight and even bind is crucial.
Adding a Closure
Finally, I chose a closure that complements my journal’s aesthetic. I might opt for a simple leather strap that wraps around or a more secure button clasp.
I attach the closure, ensuring it’s both functional and adds to the handmade charm of the journal.
My Opinion on How to Make a Leather Journal

There’s something deeply satisfying about the tactile experience of working with leather, shaping it into a vessel for thoughts and dreams. For me, it’s not just about the end product but the journey of creation itself.
Each cut, stitch, and fold is a labor of love, imbuing the journal with a sense of authenticity and craftsmanship that store-bought alternatives can’t replicate.
Moreover, making a leather journal allows for complete customization. From selecting the type of leather to choosing the closure mechanism and adding personal touches like embossing or stitching patterns, every aspect can be tailored to individual preferences.
Beyond the creative satisfaction, making a leather journal also brings a sense of connection to tradition and history. Leather has been used for centuries to create enduring objects, and by continuing this tradition, I feel a connection to the craftsmen and artisans who came before me. In essence, making a leather journal is not just a hobby; it’s a form of homage to the timeless art of leathercraft and a celebration of creativity and self-expression.
Did you like this post about How to Make a Leather Journal? 💡You might also like the following articles:
FAQ – How to Make a Leather Journal
How to make an old-fashioned leather journal?
To craft an old-fashioned leather journal, select quality leather, cut it to size, and fold it into sections. Sew the sections together, add a closure, and you’ll have a timeless piece for your thoughts. Enjoy the process!
What type of leather is best for journals?
Full-grain leather is best for journals due to its durability and natural beauty. It develops a rich patina over time, enhancing its character. Choose leather that suits your aesthetic preferences and journaling needs for a truly personalized experience. Happy journaling!
How much leather do you need to make a journal?
The amount of leather needed to make a journal depends on its size, design, and desired thickness. Typically, a standard-sized journal may require about 2 to 3 square feet of leather. Adjust accordingly based on your specific project requirements. Enjoy your crafting journey!
What are leather journals made of?
Leather journals are typically made of various types of leather, including full-grain, top-grain, or genuine leather. Each type offers unique qualities in terms of durability, texture, and appearance. Choose the leather that best suits your preferences and journaling style for a satisfying writing experience. Happy journaling!
If you liked this post about how to Make a Leather Journal, don´t forget to leave us a comment below to tell us about your experience.


